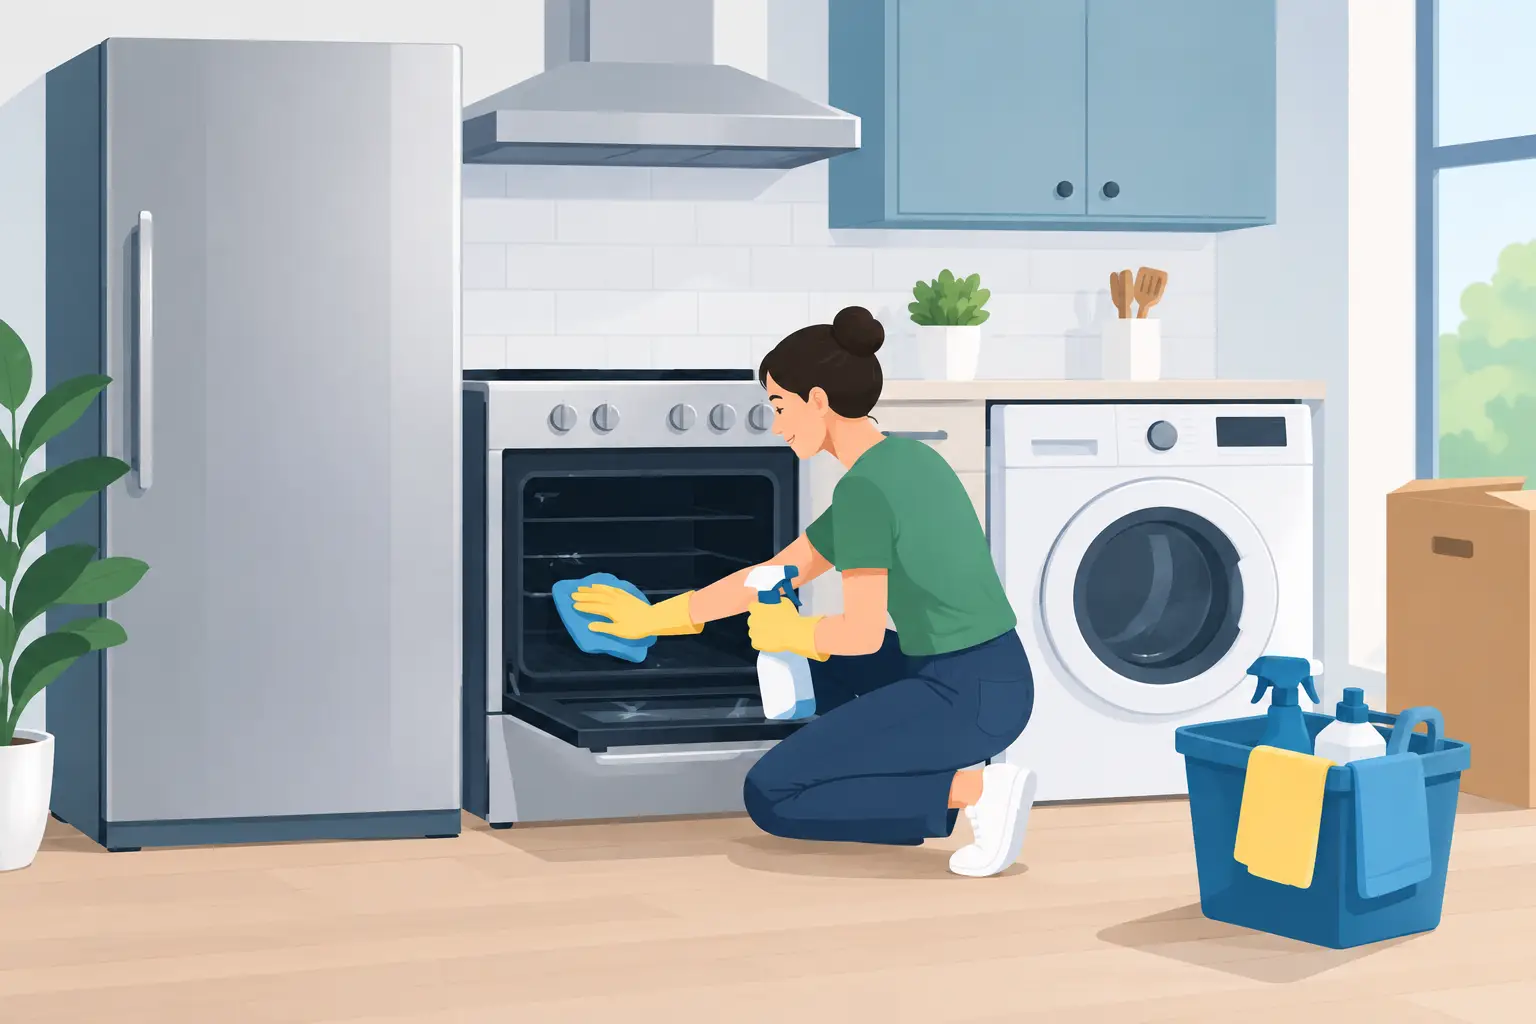
A spotless worktop can still lose its impact if the oven is greasy, the fridge smells stale or the washing machine drawer is black with mould. Learning how to clean rental appliances properly is one of the most worthwhile jobs on a move-out checklist, especially when your landlord or letting agent will compare the property against its inventory report.
The aim is not to make an old appliance look brand new. Fair wear and tear is not your responsibility. Your job is to return appliances in a clean, hygienic condition and avoid leaving behind avoidable grime, food residue, limescale or odours. Start early, work safely and take photographs once each appliance is finished.
Check what belongs to the property first
Before you reach for a cleaning spray, confirm which appliances are included in the tenancy. Built-in ovens, hobs, extractor fans, fridges, freezers, dishwashers and washing machines are common, but some rentals also include microwaves, tumble dryers and coffee machines.
Check the original inventory and look closely at its photographs and notes. This gives you a realistic standard to work towards. If an appliance was already marked, stained or damaged when you moved in, keep your check-in evidence handy. Cleaning can remove dirt, but it will not repair worn seals, faulty controls, rust or long-standing damage.
Always switch appliances off at the mains before cleaning where possible. Do not take apart electrical components, pull out a heavy integrated appliance or pour liquid into vents and controls. If something is leaking, unsafe or not working, tell the landlord or agent rather than trying to fix it yourself.
How to clean rental appliances without causing damage
The safest approach is usually the simplest: warm water, washing-up liquid, microfibre cloths, a non-scratch sponge and a soft brush. For tougher jobs, use a suitable product according to the appliance manufacturer’s instructions. Strong chemicals can damage finishes, seals and coated surfaces, while abrasive scourers can leave scratches that are far more noticeable than the original dirt.
Avoid mixing cleaning products. Bleach and other cleaners can create harmful fumes when combined. Open windows where you can, wear gloves if using stronger products and keep the room ventilated.
It also pays to clean from the inside out. Tackle removable shelves, trays, drawers and filters first, let them dry fully, then wipe the appliance body, handles, doors and surrounding areas. The gaps beside and beneath freestanding appliances matter too, but only move them if it is safe to do so.
Give the oven and hob proper attention
Ovens are often the appliance that attracts the closest attention at check-out. Baked-on grease, carbonised food and smoky glass can make an otherwise clean kitchen look neglected.
Remove oven racks and trays, then soak them in hot, soapy water if your sink or bath is large enough. Use an oven cleaner suitable for the interior surface, following the stated contact time. Do not spray heating elements, fan openings or door seals unless the product instructions specifically say it is safe. A plastic scraper or non-scratch pad can help lift softened residue without damaging enamel.
For the oven door, clean both the inner glass and the edges where grease gathers. Some doors can be dismantled, but do not do this unless the manufacturer guidance makes the process clear. It is easy to misalign the glass or damage clips. Wipe the control panel gently with a damp cloth rather than spraying cleaner directly onto it.
Clean the hob once it is completely cool. For ceramic or induction hobs, use a dedicated hob cleaner and a scraper designed for glass surfaces. Gas hobs need a little more patience: remove burner caps and pan supports, soak them if appropriate, and use a soft brush around the burner openings. Make sure every part is dry and correctly replaced before testing the ignition.
Do not forget the extractor hood. Degrease the outside, wipe underneath the hood and wash removable metal filters if the label permits it. Greasy filters are a common missed detail in rental kitchens.
Empty, defrost and freshen the fridge-freezer
A fridge should be empty, clean and free from odours when you leave. Start by using up food in the final week, then remove shelves, drawers and door compartments. Wash these in warm, soapy water and dry them thoroughly before putting them back.
Wipe the interior with a mild cleaning solution, paying attention to shelf runners, drawer corners, door seals and the drainage hole at the back of many fridge compartments. A cotton bud or soft brush is useful for awkward grooves. If there is a lingering smell, washing with a mild bicarbonate of soda solution can help, provided you wipe away residue afterwards.
Defrost the freezer only if it needs it and you have time for the ice to melt naturally. Place towels around the base to catch water and never chip ice away with a knife or sharp tool. Once defrosted, dry the freezer completely. If you are leaving it switched off, follow the landlord’s instructions and leave the door slightly ajar only where appropriate to prevent mildew.
Clean the washing machine and dishwasher where grime hides
Washing machines can look clean from the outside while holding detergent sludge, limescale and mould in the places an inspector may check. Pull out the detergent drawer, soak it in warm water and scrub each compartment. Wipe the drawer housing, including the roof and back corners.
Next, clean the rubber door seal. Gently pull it back and remove hair, lint and trapped residue with a cloth. Do not force the seal or use a sharp object. Check the filter flap at the bottom of the machine too. If you clean the filter, place towels and a shallow tray underneath because residual water may drain out. Only do this if you are confident following the appliance instructions.
Run an empty maintenance cycle with a washing machine cleaner or the product recommended for the machine. Once complete, wipe the drum, door glass and exterior, then leave the door and drawer slightly open until fully dry.
For dishwashers, remove and rinse the filters, clear visible debris from the spray arms and wipe around the door seal. Run a hot empty cycle with a dishwasher cleaner if needed. Finish by drying the inside of the door and checking the cutlery basket, lower edges and detergent compartment for trapped food.
Small appliances count too
Microwaves, kettles and tumble dryers are easy to overlook during a rushed move. Clean a microwave interior with a damp cloth after loosening dried food with steam. A bowl of water heated briefly can soften splatters, but take care when removing it. Wipe the turntable, inside roof, door seal and handle.
Descale a kettle only with a suitable descaler or the method recommended for that model. Rinse it thoroughly afterwards. For tumble dryers, empty the lint filter, clean the filter housing carefully and wipe the drum and door seal. Never wash or soak components that are not designed for it.
Record the finished condition
Once appliances are clean and dry, take clear, dated photographs. Capture the oven interior, hob, extractor filters, fridge shelves, freezer drawers, washing machine seal and any appliance with a pre-existing mark. Photograph serial numbers or inventory labels if they are visible.
This record can be useful if there is a disagreement later. It also gives you one last chance to spot a missed crumb tray, greasy handle or forgotten item in a drawer before handing back the keys.
When a professional clean makes sense
It depends on your time, the condition of the appliances and the standard requested by your tenancy agreement. If you have kept on top of cleaning, this can be a manageable job over a few evenings. If the oven has years of baked-on grease, the fridge-freezer needs defrosting, or moving day is already packed with removals and paperwork, professional help can remove a major source of pressure.
For tenants and landlords across London, The Ultimate Cleaners can include appliance cleaning as part of a thorough move-in or move-out clean, using careful methods and eco-conscious products where suitable. The goal is simple: leave the property looking properly cared for, not leave yourself scrubbing an oven at midnight.
Give appliances enough drying time, keep your photographs with the inventory and leave the kitchen in the condition you would be happy to find on moving day. That final bit of care can make the handover far easier.