A treatment room can look spotless and still carry risk on a door handle, couch control, blood-pressure cuff or pen at reception. Knowing how to disinfect clinic rooms properly means working to a repeatable process, not simply spraying surfaces between patients. For busy London practices, that consistency protects patients, staff and your reputation.
Cleaning and disinfection are not the same job
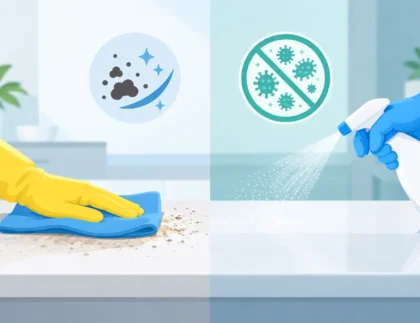
Cleaning removes visible dirt, dust and organic material. Disinfection uses an appropriate product to reduce harmful microorganisms on a surface. In most clinic rooms, cleaning comes first. A disinfectant applied over dust, body fluid residue or product build-up may not work as intended.
This matters most on frequently handled equipment and patient-contact surfaces. A quick wipe across an examination couch might improve its appearance, but it does not guarantee that the product remained wet for the required time or reached the side controls, adjustment lever and paper-roll holder.
The exact procedure depends on the service delivered in the room, the patients seen and your infection prevention policy. A physiotherapy room, GP consultation room, dental setting and minor-procedure room do not carry identical risks. Follow your organisation’s protocols, risk assessments and the instructions for every product and piece of equipment.
Start with the right supplies and a clear routine
A reliable room turnaround starts before anyone picks up a cloth. Keep cleaning supplies stocked, labelled and separate from clinical consumables. Staff should know which products are intended for routine cleaning, which are suitable for disinfection, where they can be used and how long they need to stay on the surface.
Use disposable cloths or a well-controlled colour-coded microfibre system. Reusable cloths can be effective, but only when they are removed after use, laundered correctly and never carried from a higher-risk area into another room. Mop heads and buckets need the same discipline.
Wear the personal protective equipment specified by your risk assessment and product safety information. Gloves are not a substitute for hand hygiene. Put them on when needed, avoid touching clean items such as phones or door handles with contaminated gloves, then remove them safely and clean your hands.
Never mix cleaning chemicals. It can create dangerous fumes, damage surfaces and make it impossible to know whether a product is performing as intended. Eco-conscious choices are valuable, but a product still needs to be suitable for the clinical task and used exactly as directed.
Read the label for contact time
Contact time is the detail most often missed during rushed room changes. This is the time a disinfectant must remain visibly wet on a surface to achieve the result claimed by its manufacturer. Wiping it dry after a few seconds can reduce its effectiveness.
Check whether the product is ready to use or requires dilution, whether it is compatible with vinyl, stainless steel, screens or upholstery, and whether rinsing is required on any surface. Do not assume a general-purpose cleaner is appropriate for medical equipment. Manufacturer guidance for the equipment always comes first.
How to disinfect clinic rooms between patients
Work from cleaner areas to dirtier areas, from high points to low points, and from the farthest part of the room towards the exit. That simple order reduces the chance of recontaminating a surface you have already treated.
For a standard consultation or examination room, a practical sequence is:
- Remove used disposable couch paper, single-use items and waste without overfilling bags or bins.
- Clean any visible soil immediately, using the correct product and method for the surface.
- Disinfect patient-contact and high-touch points, allowing the full contact time.
- Replace clean consumables, including couch roll, tissues or hand-hygiene supplies.
- Check the room visually, remove gloves if worn, perform hand hygiene and record the task where your system requires it.
High-touch points commonly include the examination couch and controls, chair arms, desk surface, keyboard and mouse if shared, light switches, door handles, tap handles, flush plates, call buttons, blood-pressure equipment, thermometer housings and any reusable diagnostic equipment. Do not forget the surfaces staff touch while preparing the room, such as drawer handles and cupboard pulls.
Not every item needs the same treatment after every patient. For example, a desk that has not been used during an appointment may be covered by the scheduled cleaning programme, while a couch used for direct patient contact should be dealt with promptly. The point is to base frequency on use and risk, rather than applying one blanket rule to every surface.
Give special attention to examination couches and reusable equipment
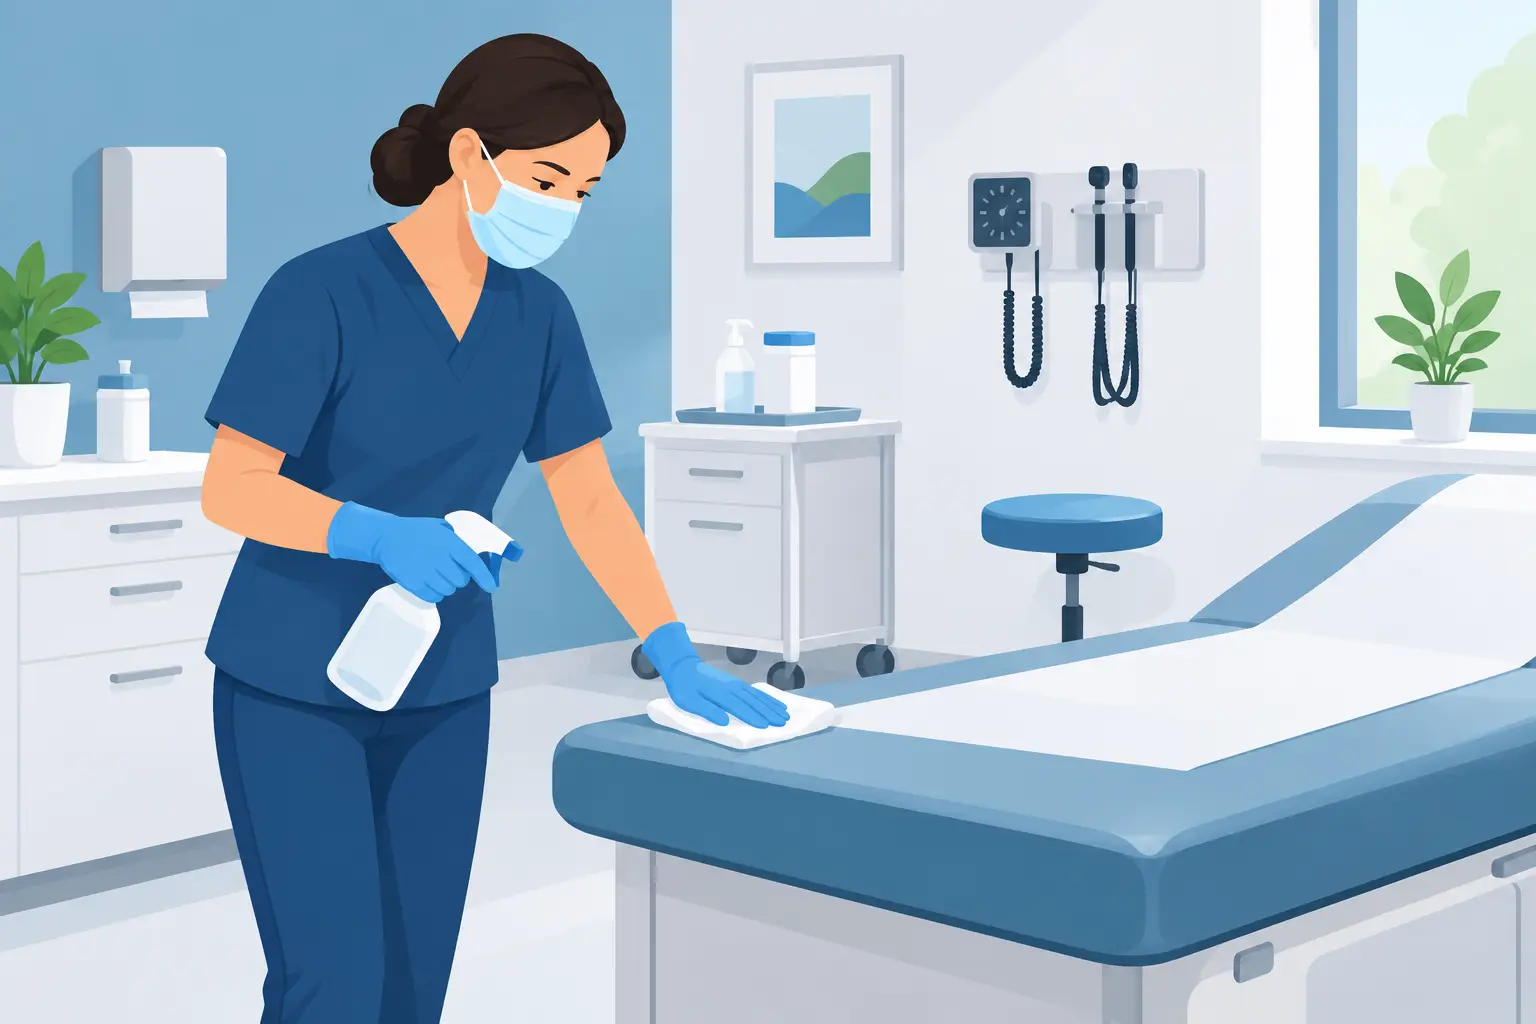
Examination couches are a priority because they are repeatedly touched by patients and clinicians. Remove the paper roll after each patient, inspect the upholstery and clean any visible contamination first. Then disinfect the patient-contact surface, controls and nearby touchpoints with a product compatible with the couch material.
Cracked upholstery, damaged seams and peeling coatings are harder to clean effectively. Report them early. A replacement may feel like an avoidable expense, but trying to disinfect a damaged surface can cost more in hygiene risk and staff time.
Reusable equipment requires a more individual approach. Some devices tolerate disinfectant wipes, while others need a particular approved product or should not be saturated. Follow the equipment manufacturer’s instructions, especially for electrical items, probes, screens and devices with small openings. Where an item is intended for single-patient use or has a disposable cover, use it as designed and dispose of the cover after use.
When there is a body fluid spill
A spill of blood, vomit, urine or other body fluid needs prompt action and a procedure that is more controlled than routine wiping. Restrict access to the area if necessary, wear the PPE specified in your spill procedure, and use the approved spill kit or product. Dispose of contaminated materials through the correct waste route.
Do not treat a spill as a standard cleaning task. Staff should know who to notify, when a room needs to be taken out of use and how to document the incident. Regular training makes a calm, correct response far more likely.
Build a daily schedule around real use
Between-patient disinfection is only one layer of a clean clinic. Floors, skirting, lower walls, windows, waiting-area seating, bins and less frequently touched surfaces still need planned attention. A written schedule prevents important work being left until someone notices it.
Daily tasks generally cover clinical rooms, toilets, reception points and shared staff areas. Weekly or periodic tasks can include detailed cleaning of furniture, vents, high-level dust, internal glass and harder-to-reach areas. Your schedule should also account for busy sessions, late clinics and rooms used by different teams.
A signed checklist can help, but it should support good work rather than become a box-ticking exercise. Supervisors should carry out spot checks, looking for missed high-touch points, damaged surfaces, low stock and cleaning methods that do not match the agreed standard. If the same issue appears repeatedly, review the process instead of only reminding the individual cleaner.
Prevent cross-contamination outside the treatment room
Clinic hygiene does not end at the door. Reception counters, card terminals, pens, waiting-room chairs, lift buttons and toilet touchpoints can see constant traffic. These need cleaning frequencies that reflect footfall, particularly during winter illness peaks or when the practice is especially busy.
Cleaning trolleys should be organised so clean supplies stay separate from used cloths and waste. Empty bins before they overflow, keep hand-hygiene stations filled, and store chemicals securely away from patients and clinical supplies. Small operational details are what keep a sensible infection-control plan working on a hectic day.
For multi-room sites, a professional cleaning team can provide valuable consistency outside clinical procedures: dependable scheduled cleans, trained operatives, clear task lists and responsive support when a deep clean is needed. The Ultimate Cleaners supports medical and commercial facilities across London with practical cleaning plans shaped around site access and operating hours.
Make the process easy to repeat
The best clinic-room cleaning routine is one staff can follow confidently at 8am, during a packed afternoon and at closing time. Keep product instructions accessible, train new starters, refresh procedures after incidents or layout changes, and review your risk assessment when services change.
A clean room should not rely on whoever happens to have time. When each surface has a clear owner, a suitable product and enough contact time, patients walk into a space that feels cared for before the appointment has even begun.