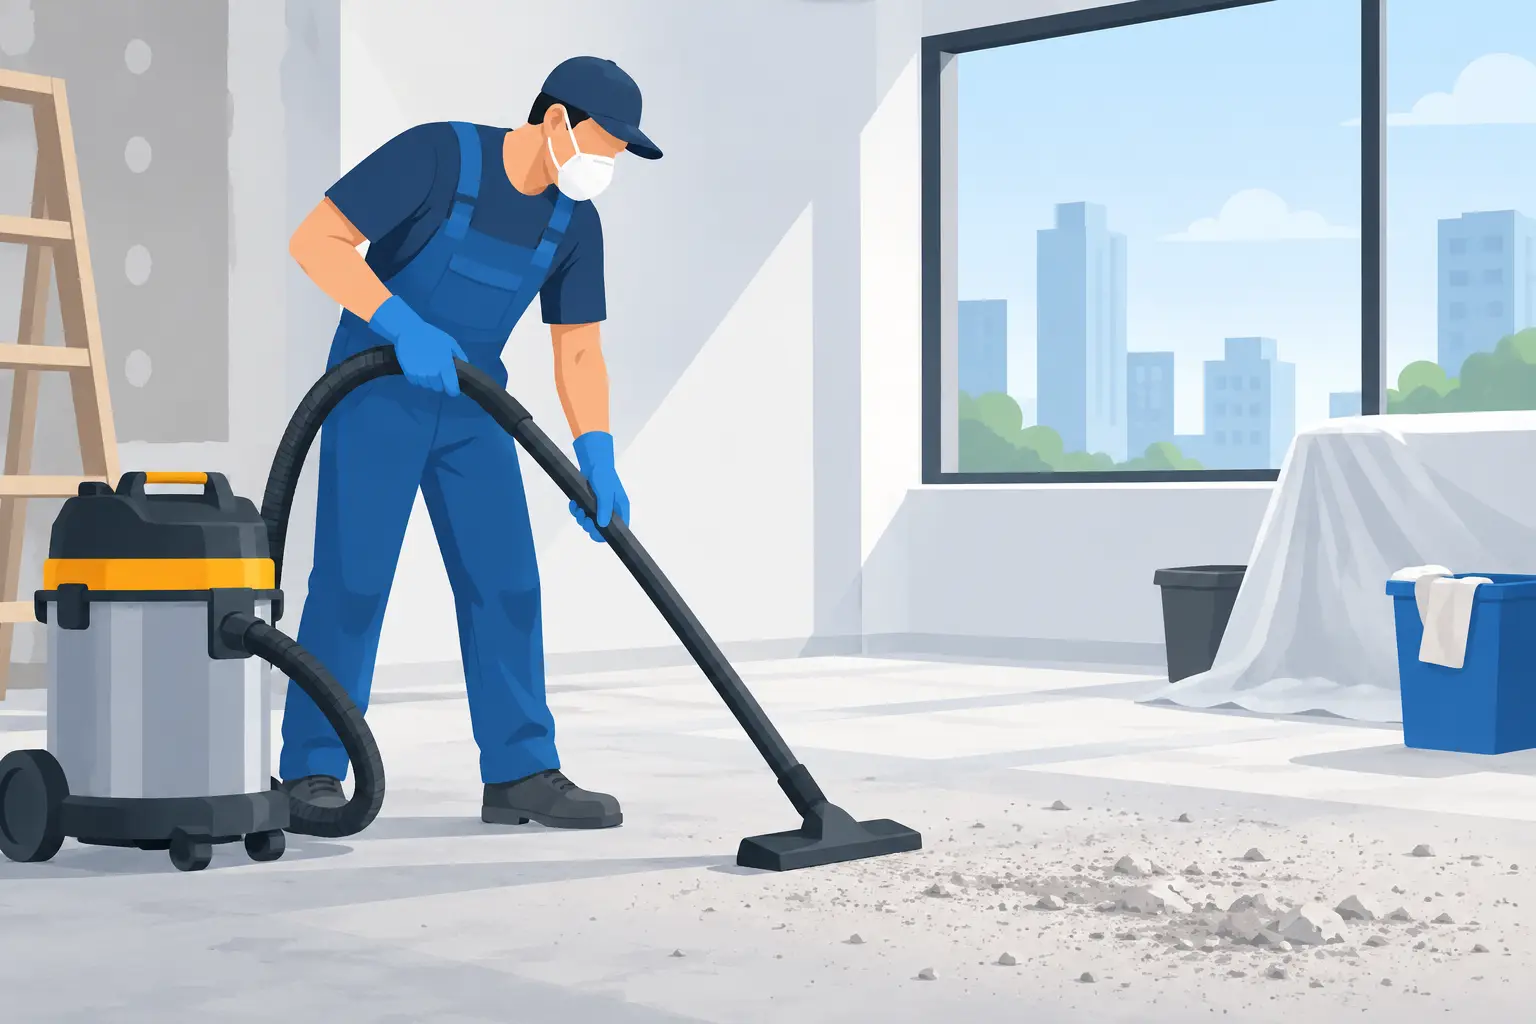
Fresh plaster, new flooring and a finished paint job can make a room look ready – until a fine grey film settles over every surface. Knowing how to remove construction dust properly is what turns a completed renovation into a clean, comfortable space you can actually use. The key is not simply cleaning harder. It is working in the right order, with the right equipment, so dust is captured rather than sent back into the air.
Construction dust is far finer than ordinary household dust. It can settle inside cupboards, cling to skirting boards and light fittings, work its way into carpet fibres, and reappear for days after the builders have left. For homes, flats, offices and commercial premises, a careful post-construction clean protects the finish of new work and makes the property safer to occupy.
Why construction dust needs a different approach
Dust from drilling, sanding, plastering, cutting tiles or fitting timber may contain a mixture of gypsum, wood particles, paint residue, cement and fine silica-containing materials. The smallest particles are easy to breathe in and can irritate eyes, throats and lungs. They also travel further than expected through open doors, ventilation systems and fabric furnishings.
That is why dry sweeping is usually the wrong first move. A brush can lift settled dust into the air, where it lands again on clean surfaces. Similarly, wiping with a very wet cloth too early can turn plaster or cement dust into a stubborn paste. The aim is to remove loose dust gradually, from high to low, then clean remaining residue with controlled moisture.
If the work involved significant concrete cutting, brickwork, sanding old paint, insulation or a large commercial refurbishment, take extra care. Keep children, pets and people with respiratory conditions out of the area until cleaning is complete. Where there is any concern about hazardous materials, stop and seek specialist advice rather than treating it as a standard clean.
What you need before you start
A basic domestic vacuum is not always enough for building dust. Ideally, use a vacuum with a HEPA filter, which is designed to capture very fine particles instead of allowing them to pass through the machine and back into the room. If you do not have one, hire suitable equipment or arrange professional post-construction cleaning for larger jobs.
Gather clean microfibre cloths, a mop with washable pads, a bucket, warm water and a mild eco-friendly cleaner suitable for the surfaces in the room. You will also need protective gloves, a well-fitting dust mask, eye protection and closed shoes. Open windows where practical, but avoid creating a strong through-draught that blows loose dust around the property.
Do not rely on one cloth for the whole room. Once a cloth is loaded with fine dust, it starts spreading residue rather than lifting it. Keep a supply ready and change cloths and mop pads often.
How to remove construction dust step by step
1. Let the dust settle and clear the waste
If work has only just finished, give the area time for airborne dust to settle before starting. Remove offcuts, packaging, protective film, rubble and empty materials first. Check cupboards, drawers, behind doors and around radiators, as builders’ waste is often left in easy-to-miss places.
Do not shake dust sheets, rugs or fabric covers indoors. Fold them inwards carefully and take them outside before laundering or disposing of them. This prevents a clean room from being covered again at the very beginning.
2. Vacuum from the ceiling down
Start at the highest points: ceilings, coving, vents, curtain rails, light fittings and the tops of cupboards. Use a soft brush attachment and move slowly. Rushing creates disturbance, while a careful pass gives the vacuum time to collect fine particles.
Then work down walls, window frames, shelves, skirting boards, sockets and furniture. Pay particular attention to grooves, corners and the edges of fitted units. A crevice tool is useful here, but take care around newly painted surfaces and fresh sealant.
Vacuum floors last. Make several slow passes in different directions, especially on carpets and along floor edges. For hard floors, use an attachment appropriate for the finish so you do not scratch new wood, vinyl or polished stone.
3. Wipe hard surfaces with minimal moisture
Once the loose dust has been vacuumed, wipe hard surfaces with a slightly damp microfibre cloth. Rinse and wring it out regularly – it should be damp enough to collect residue, not wet enough to leave water marks or damage timber.
Use a mild cleaner only where needed. Kitchen worktops, bathroom surfaces and internal windows may have a film of adhesive, paint splashes or fingerprints as well as dust. Always test a discreet spot first, particularly on natural stone, untreated wood, brass fittings and newly installed surfaces. Strong chemicals can dull finishes, strip sealants or react with building residue.
For stubborn dust on painted walls, avoid scrubbing. Gently wipe in one direction with a barely damp cloth, then allow the area to dry. If marks remain, it may be safer to ask the decorator whether the paint has fully cured before doing more.
4. Clean windows, glass and frames carefully
Construction dust is especially noticeable on glass, but it can scratch when rubbed dry. Vacuum the frame, sill and tracks first, then wipe them with a damp cloth. Clean the glass afterwards using a suitable glass cleaner and a clean lint-free cloth.
If there are paint spots, silicone or adhesive residue, do not attack them with a blade unless you know the glass and coating can tolerate it. Modern windows may have specialist finishes that are easily damaged. A professional cleaner can remove post-build residue without putting the final finish at risk.
5. Mop floors in stages
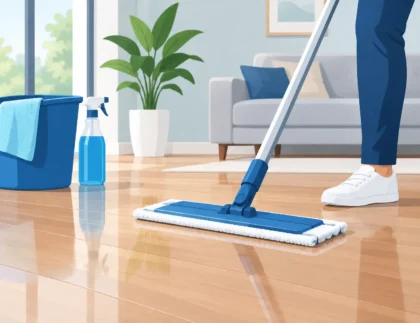
Hard floors often need more than one pass. First, vacuum thoroughly. Then mop with a clean, well-wrung microfibre pad and a cleaner suited to the flooring type. Change the water as soon as it looks cloudy, because dirty water simply redistributes fine grit.
New timber, laminate and luxury vinyl need very little water. Tile and sealed stone can tolerate more, but grout lines may hold dust and require a soft brush after the initial mop. Avoid steam cleaning newly fitted floors until you are sure the adhesive, grout or sealant has cured.
6. Deal with soft furnishings and hidden dust
Carpets, upholstered furniture, curtains and mattresses can hold fine dust long after visible surfaces look clean. Vacuum carpets slowly with repeated passes, including underneath furniture where possible. For a heavily dusted carpet, a professional carpet clean may be worthwhile after the initial vacuuming, particularly before a tenant moves in or an office reopens.
Wash removable curtains, cushion covers and bedding according to their care labels. Wipe the outside and inside of wardrobes, drawers and cabinets before refilling them. There is little point putting clean clothes or stock into storage that still contains building dust.
Common mistakes that make the job longer
The most common mistake is cleaning floors first. Dust from ceilings, walls and fittings will fall straight back onto them, creating unnecessary repeat work. Another is using a feather duster, which moves dust around instead of removing it.
Avoid overloading the vacuum or using clogged filters. Empty the machine safely outside where possible, and follow the manufacturer’s instructions for filter cleaning or replacement. A poorly maintained vacuum can reduce suction and release dust back into the room.
It is also tempting to clean only what is visible. After renovation work, dust often settles on the top edges of doors, inside extractor vents, behind radiators and within kitchen units. These hidden areas are usually why a property still feels dusty a week later.
When to book a professional post-construction clean
A small decorating project may be manageable with patience and the right equipment. A full renovation, extension, shop fit-out or office refurbishment is another matter. The volume of dust, access requirements and range of surfaces can make DIY cleaning slow, physically demanding and costly if specialist equipment is needed.
Professional cleaners can work through a property systematically, including internal glass, flooring, kitchens, bathrooms, fixtures and detailed dust removal. This is particularly useful for landlords preparing a rental, businesses working to a reopening date, and homeowners who want to enjoy their new space without spending a weekend cleaning it.
The Ultimate Cleaners provides post-construction cleaning across London, with flexible appointments for homes and commercial properties. A clear estimate before the work starts helps you decide whether a one-off deep clean is the sensible option for your project.
A final clean is not just about making a renovation look good in photographs. It gives you a fresh start in a space that feels properly finished, healthy and ready for everyday life.